INSTALL LoD Jeep JL Destroyer Series 4-Door Rock Sliders
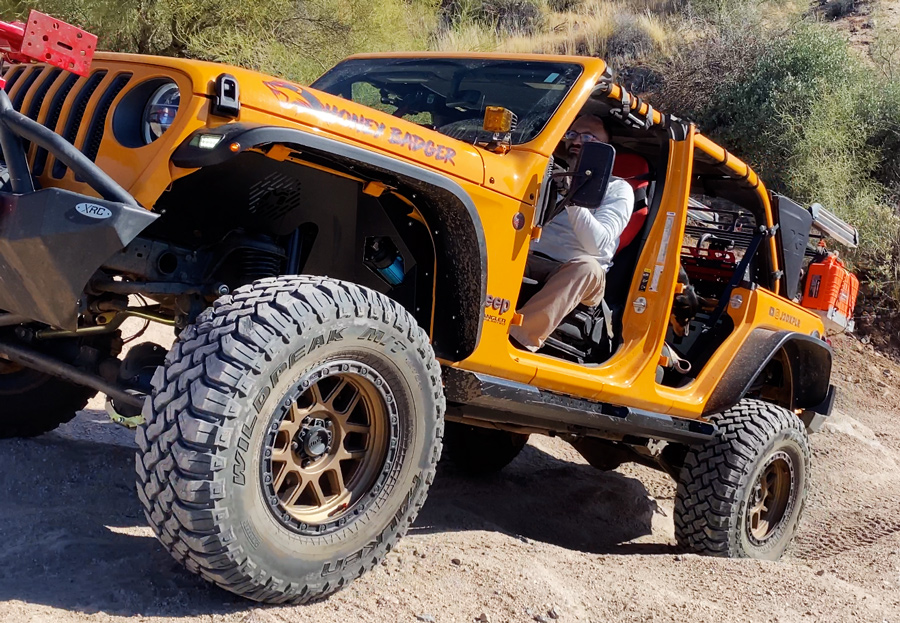
We were lucky enough to get a set of used LoD Destroyer Series Rock Sliders from another Jeeper for half the retail price. Not only do they match our LoD Destroyer rear bumper setup, they also give us a much better clearance and protection for trail rides. We are going to walk you through the installation. Come join us in to our garage!
These side armor steps are body mounted, and are good entry level upgrade, but we prefer the frame mounted type rock slider like the LoD Destroyer Series.
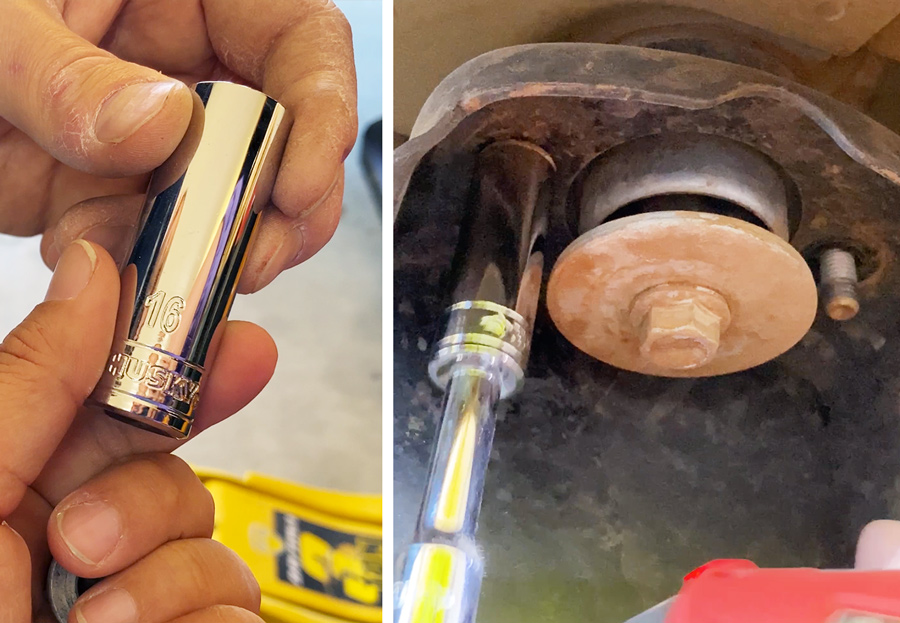
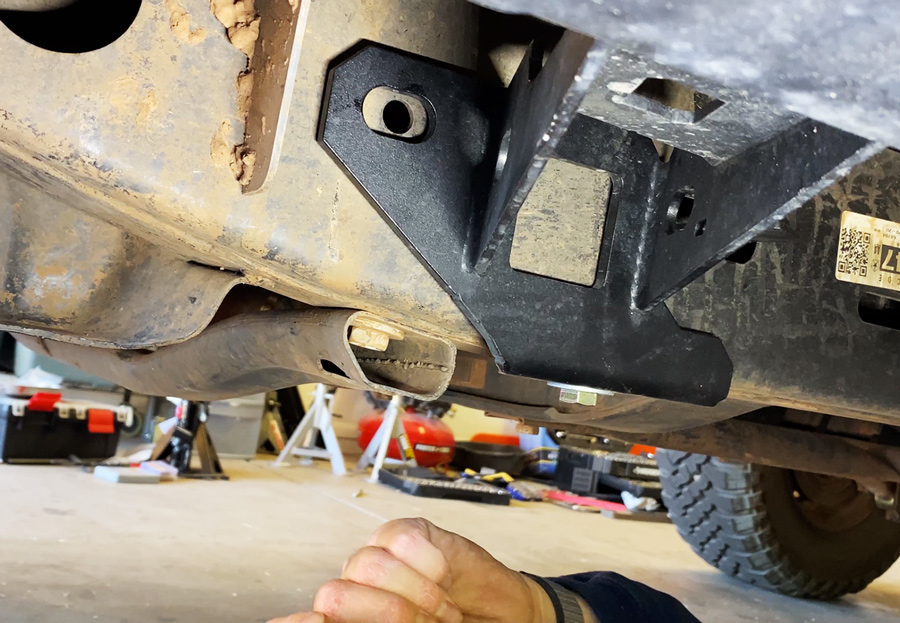
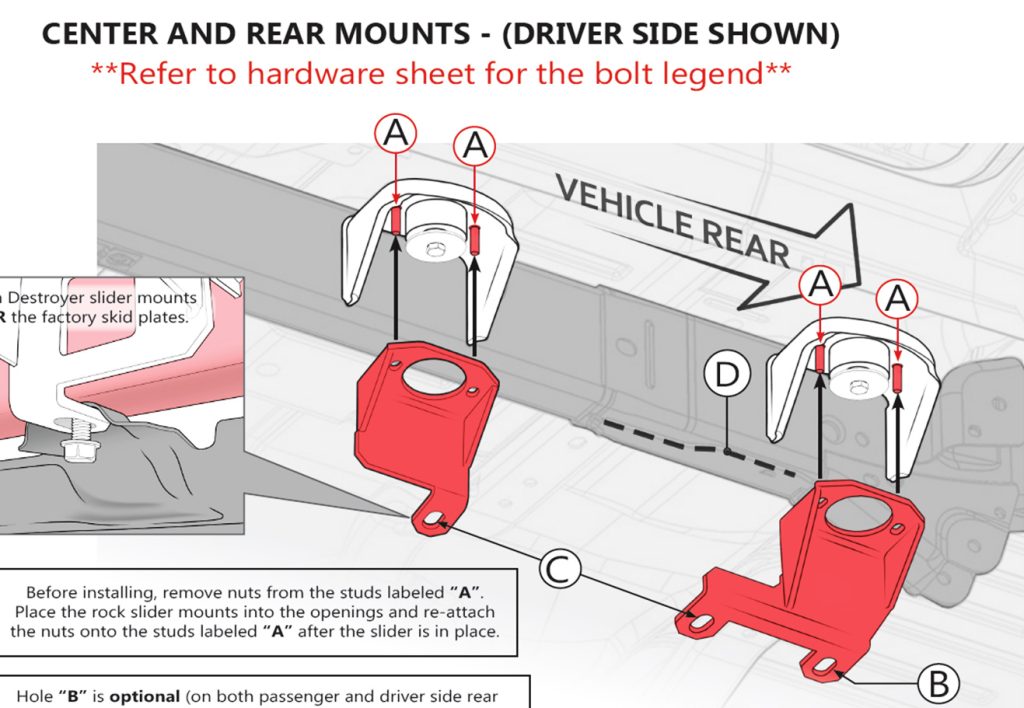
Before installing, we have to remove nuts from the studs, you will need a 16 mm socket for this step. We are starting from the DRIVER side of the Jeep. Pay attention to the notes in the instruction manual that installation on the DRIVER and PASSENGER sides are slightly different.
Next, we found out the Hi-Lift Jack Driver Side mount is in the way, so we have to remove that before installing the rock slider.
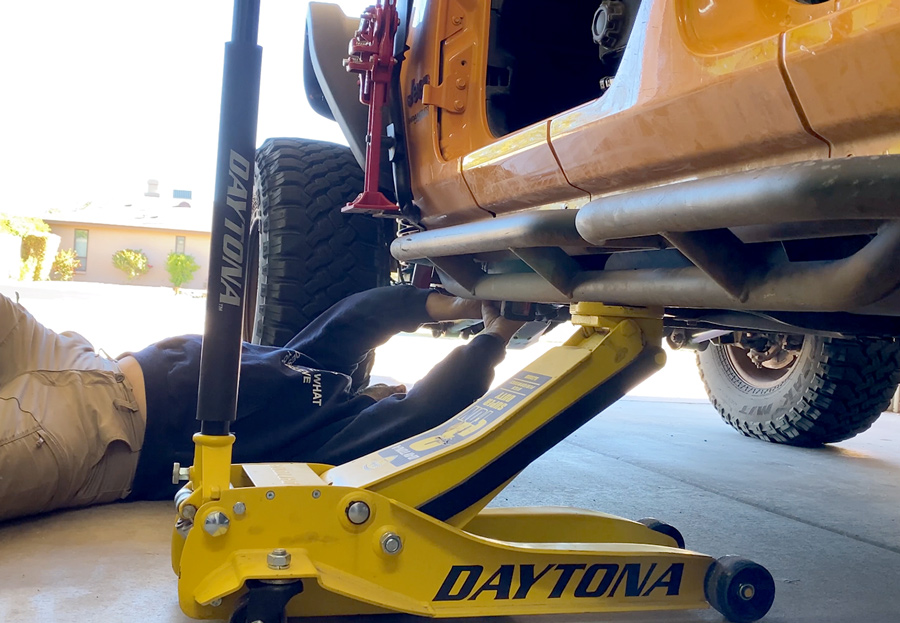
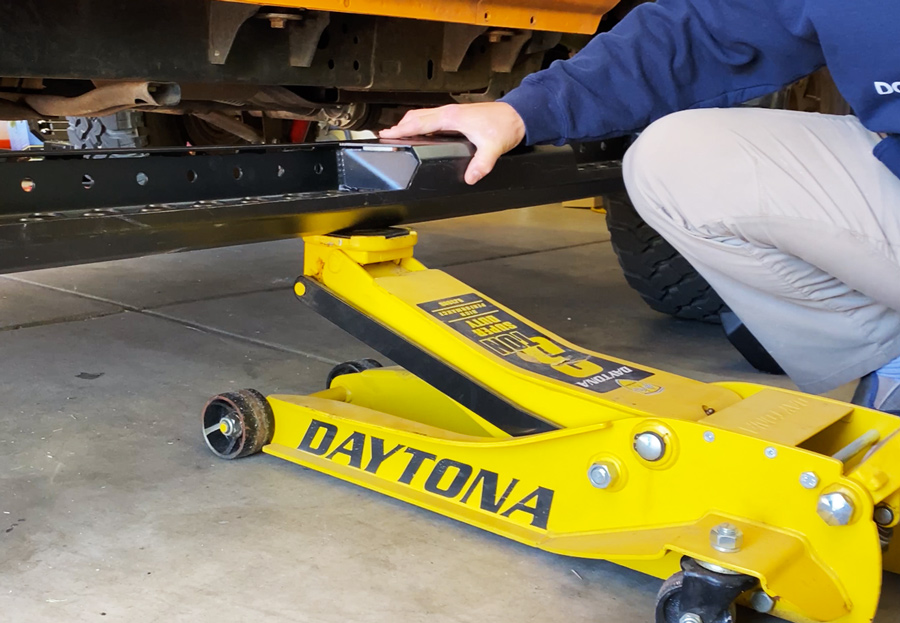
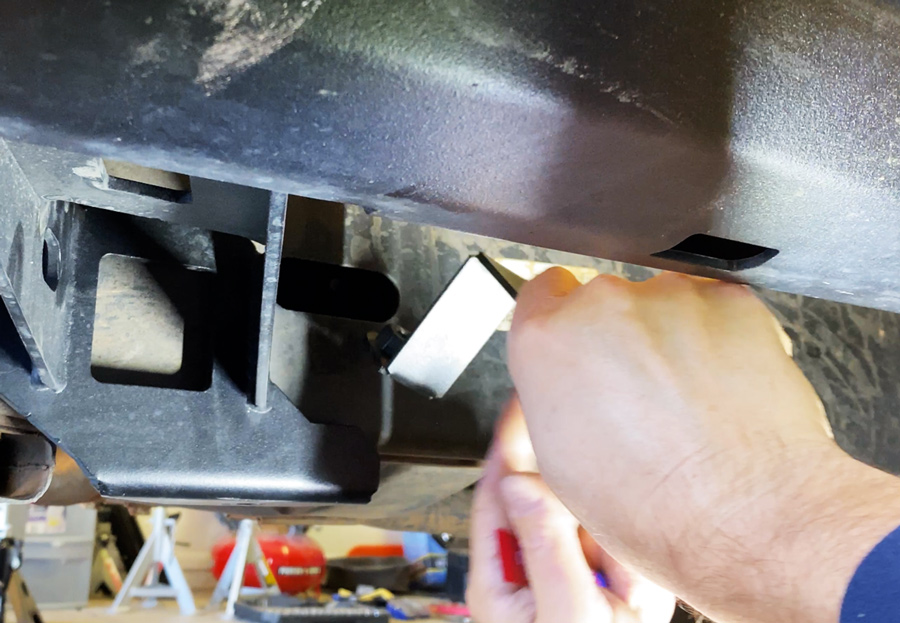
It is possible to do this installation by yourself, but it is better with two sets of hands. Jeremy shows how you can balance the rock slider on a garage trolley jack to help position it for installation.
We used a mallet to help push the slider in place before bolting it in. Hand tighten the body bolts. Repeat the same steps to the other mount.
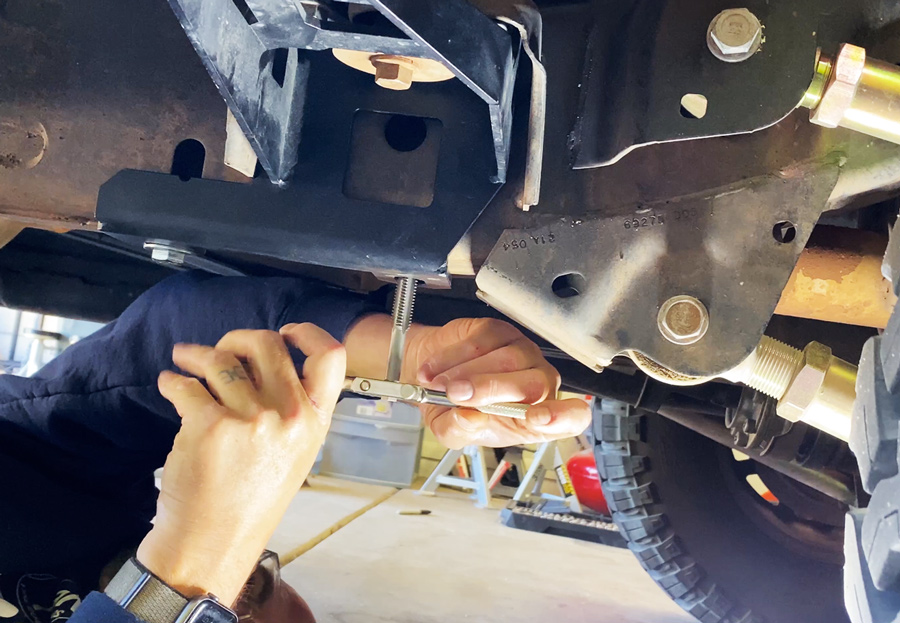
Use the provided flag nut and insert it into the rectangular hole on the front driver side for the hex bolt and washer marked in the instruction for this part of the installation. We used 3/4” socket for tightening this bolt.
Step “F” is optional, but recommended for off-road use. There is already a hole for this on the DRIVER side. However, you will have to drill a hole on the PASSENGER side, which we will show you later. We also added lock tight to be safe.
You may notice that our nuts and bolts are slightly different than what you received from LoD. In the beginning of the installation, we found some hardware missing. We picked Grade 8 versions of what was needed at the hardware store. So there is a slight chance that the hardware we used may not 100% match what is provided by LoD.
Now we install the LoD supplied hardware for Holes labeled “C” on the DRIVER side. You will re-use the stock bolts that are already there on the PASSENGER side. Use bolts and washers labeled “C.” Tighten using a 19 mm socket or wrench.
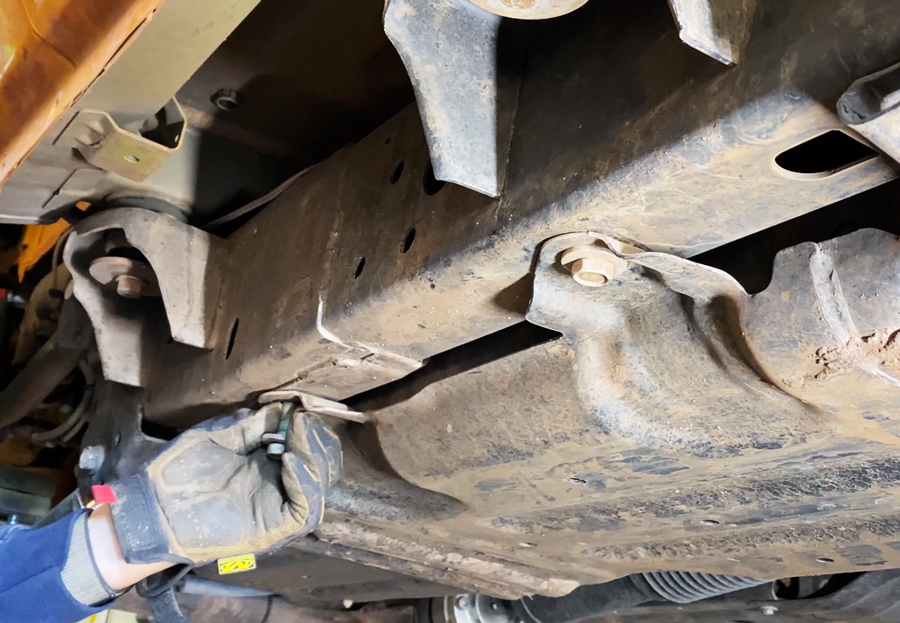
Step B is optional for the rear mount, but is also recommended for off road use. If you decide to do this, use a 7/16” drill bit and use the provided self-tapping thread roller bolts, slowly tighten them until fully seated. This was part of the missing hardware for us, so we tapped the thread ourselves using a Tap Wrench Set.
Our purchased hardware was 3/4”, and 3/4” socket is close enough that I used it on the 19 mm bolts to tighten down as well.
For the PASSENGER side, we will repeat pretty much the same steps except for two things.
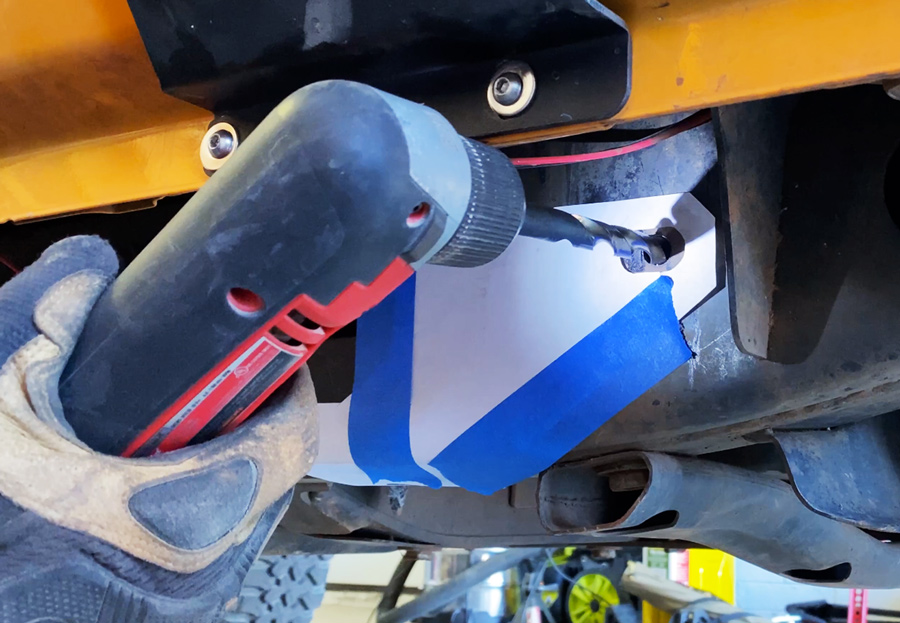
First, is to drill the hole needed in the front PASSENGER side for bolt labeled “F”. Use the template provided in the instruction manual. This will help you mark the hole location. Use a 9/16” drill bit to drill THROUGH the frame (on the passenger side only, the driver’s side has a hole.) We started with a smaller drill bit to help put a pilot pole in before using the larger drill bit.
Second is to remove the two bolts from the factory skid plates. They are in the same locations as the bolts marked “C” on the DRIVE side. Keep them handy because you will be reusing the bolts to mount the rock slider on this side.
I helped Jeremy to position the rock slider on this side, because it was quite a tight fit to get the mounts into position where the pockets were. We had to make sure everything was level before it will seat in the studs marked “A” on this side.
Our PASSENGER side Jerry Can Mount just made it for the install. But everything came together relatively easy and we are extremely happy with the result.